Sharing Summer Cardmaking Challenge 3
Bring On The Heat Embossing!
Good day, fellow crafters. Good day, fellow crafters. Today I am sharing with you my entry into this week’s Sharing Summer Cardmaking Challenge! This challenge is being hosted by @thatcraftygolden and you can find their page on Instagram, and is running from July 9th - September 3rd. This week's theme is Heat Embossing with the main goal to feature embossing, heat embossing or both, as the focal point of your designs. If this theme sparks your creativity, join us in the fun! Don't forget to use the hashtag #sharingsummercards, as we can't wait to admire your creations. I hope you enjoy my submission to this challenges.
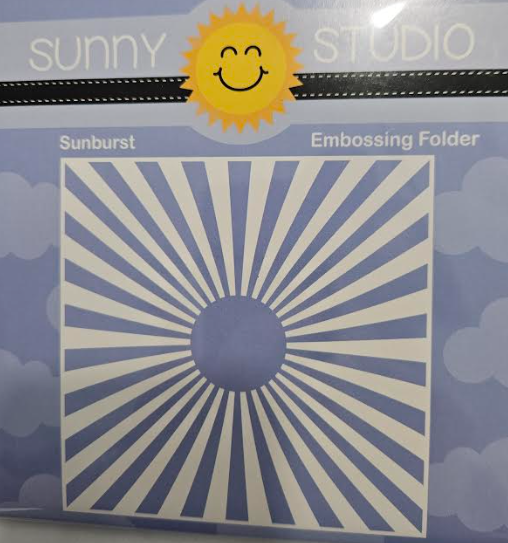
To tackle this challenge of crafting a card, I searched through my stash for vibrant summery colors from Altenew and sought out embossing folders that evoked a delightful "Summer" feel. After thoughtful consideration, I settled on using the Sunburst embossing folder from Sunny Studio and the charming shades of Sunkissed, Sunshine, and Citrus Burst. With my materials in hand, I got started.
The first step was to create the background panel by taking a piece of white cardstock and then by using ink-blending brushes and my chosen colors, blend a deep rich golden sun color onto the cardstock that I was happy with and then patiently allowed the ink to dry.
Next, I spritzed the back of the background panel with water to prevent any cardstock fibers from breaking during the subsequent step, which involved embossing. With care, I aligned the background panel inside the embossing folder and ran it through the embossing machine multiple times, ensuring crisp and clean lines. Once the embossing process was completed, I set the panel aside, allowing ample time for it to dry thoroughly.
Moving on to the next phase, I focused on creating the sentiment. For this, I utilized the Shine and Bright word dies from Honey Bee Stamps and some golden glitter cardstock. I was genuinely thrilled with the outcome as the color combination made the sentiment pop against the backdrop panel.
Now, for assembly and finishing touches, I utilized a square stitched die to trim the background panel to its final dimensions and added a black mat for added visual interest. I then adhered them together, and mounted the composite onto a pre-cut A2 white card base. Taking my time, I strategically placed the sentiment in a position that showcased it without overwhelming the embossed image. Once satisfied with the placement, I securely glued the sentiment to the panel. To add that extra touch of brilliance, I applied some Snow and Ice Luster Polish from Creative Expressions, creating a shine. You can witness the effect in the picture in the gallery below.


