Monstera Deliciosas
Good day, fellow crafters. Today I present to you, not your average floral card, but a flowering plant nonetheless. Now these are not palm leaves or even a Philodendron as they are often mistaken to be, these enchanting leaves are from the Monstera Deliciosas and are known for their unique fenestrations or the small holes you see in the leaves. The more mature the plant the more holes you will see in the leaves. The plant just doesn’t just look pretty, the fruit of the Monstera Deliciosa has a delightful medley of fruity sweetness with hints of pineapple, banana, and even a touch of mango. This delectable treat is a source of essential vitamins and minerals, making it not only a culinary delight but also a nourishing indulgence. Often referred to as the "Swiss Cheese Plant Fruit," or the “Mexican Breadfruit”, is a true testament to the wonders of the natural world. Just make sure you eat just the ripe fruit as the rest of the plant is toxic to people and animals. I hope you have learned something and are inspired to create your own art.
I really wanted this card to stand out and be something different from my usual designs. In order to achieve this I decided that rather than beginning with the customary white cardstock, I opted for a bold approach by starting with a black base. As evident in the completed card above, this design decision significantly enhances the viewer's focus on the central elements. The effect of the black background creates an astonishing sense of depth that captivates the eye.
To begin the background panel, I first took my black cardstock and misted the back of the card with some water. The reason to do this is so that the fibers making up the card stock will bend rather than break if there is a little moisture in them. I next placed the cardstock into the Monstera Leaves 3D Embossing folder from Altenew, featured left. I then ran the embossing folder through my die-cutting machine a couple of times and my edges came out nice and crisp. Per usual with this method, I ended up with no tear outs. I set the panel aside and allowed it to dry thoroughly before moving on to the coloring.
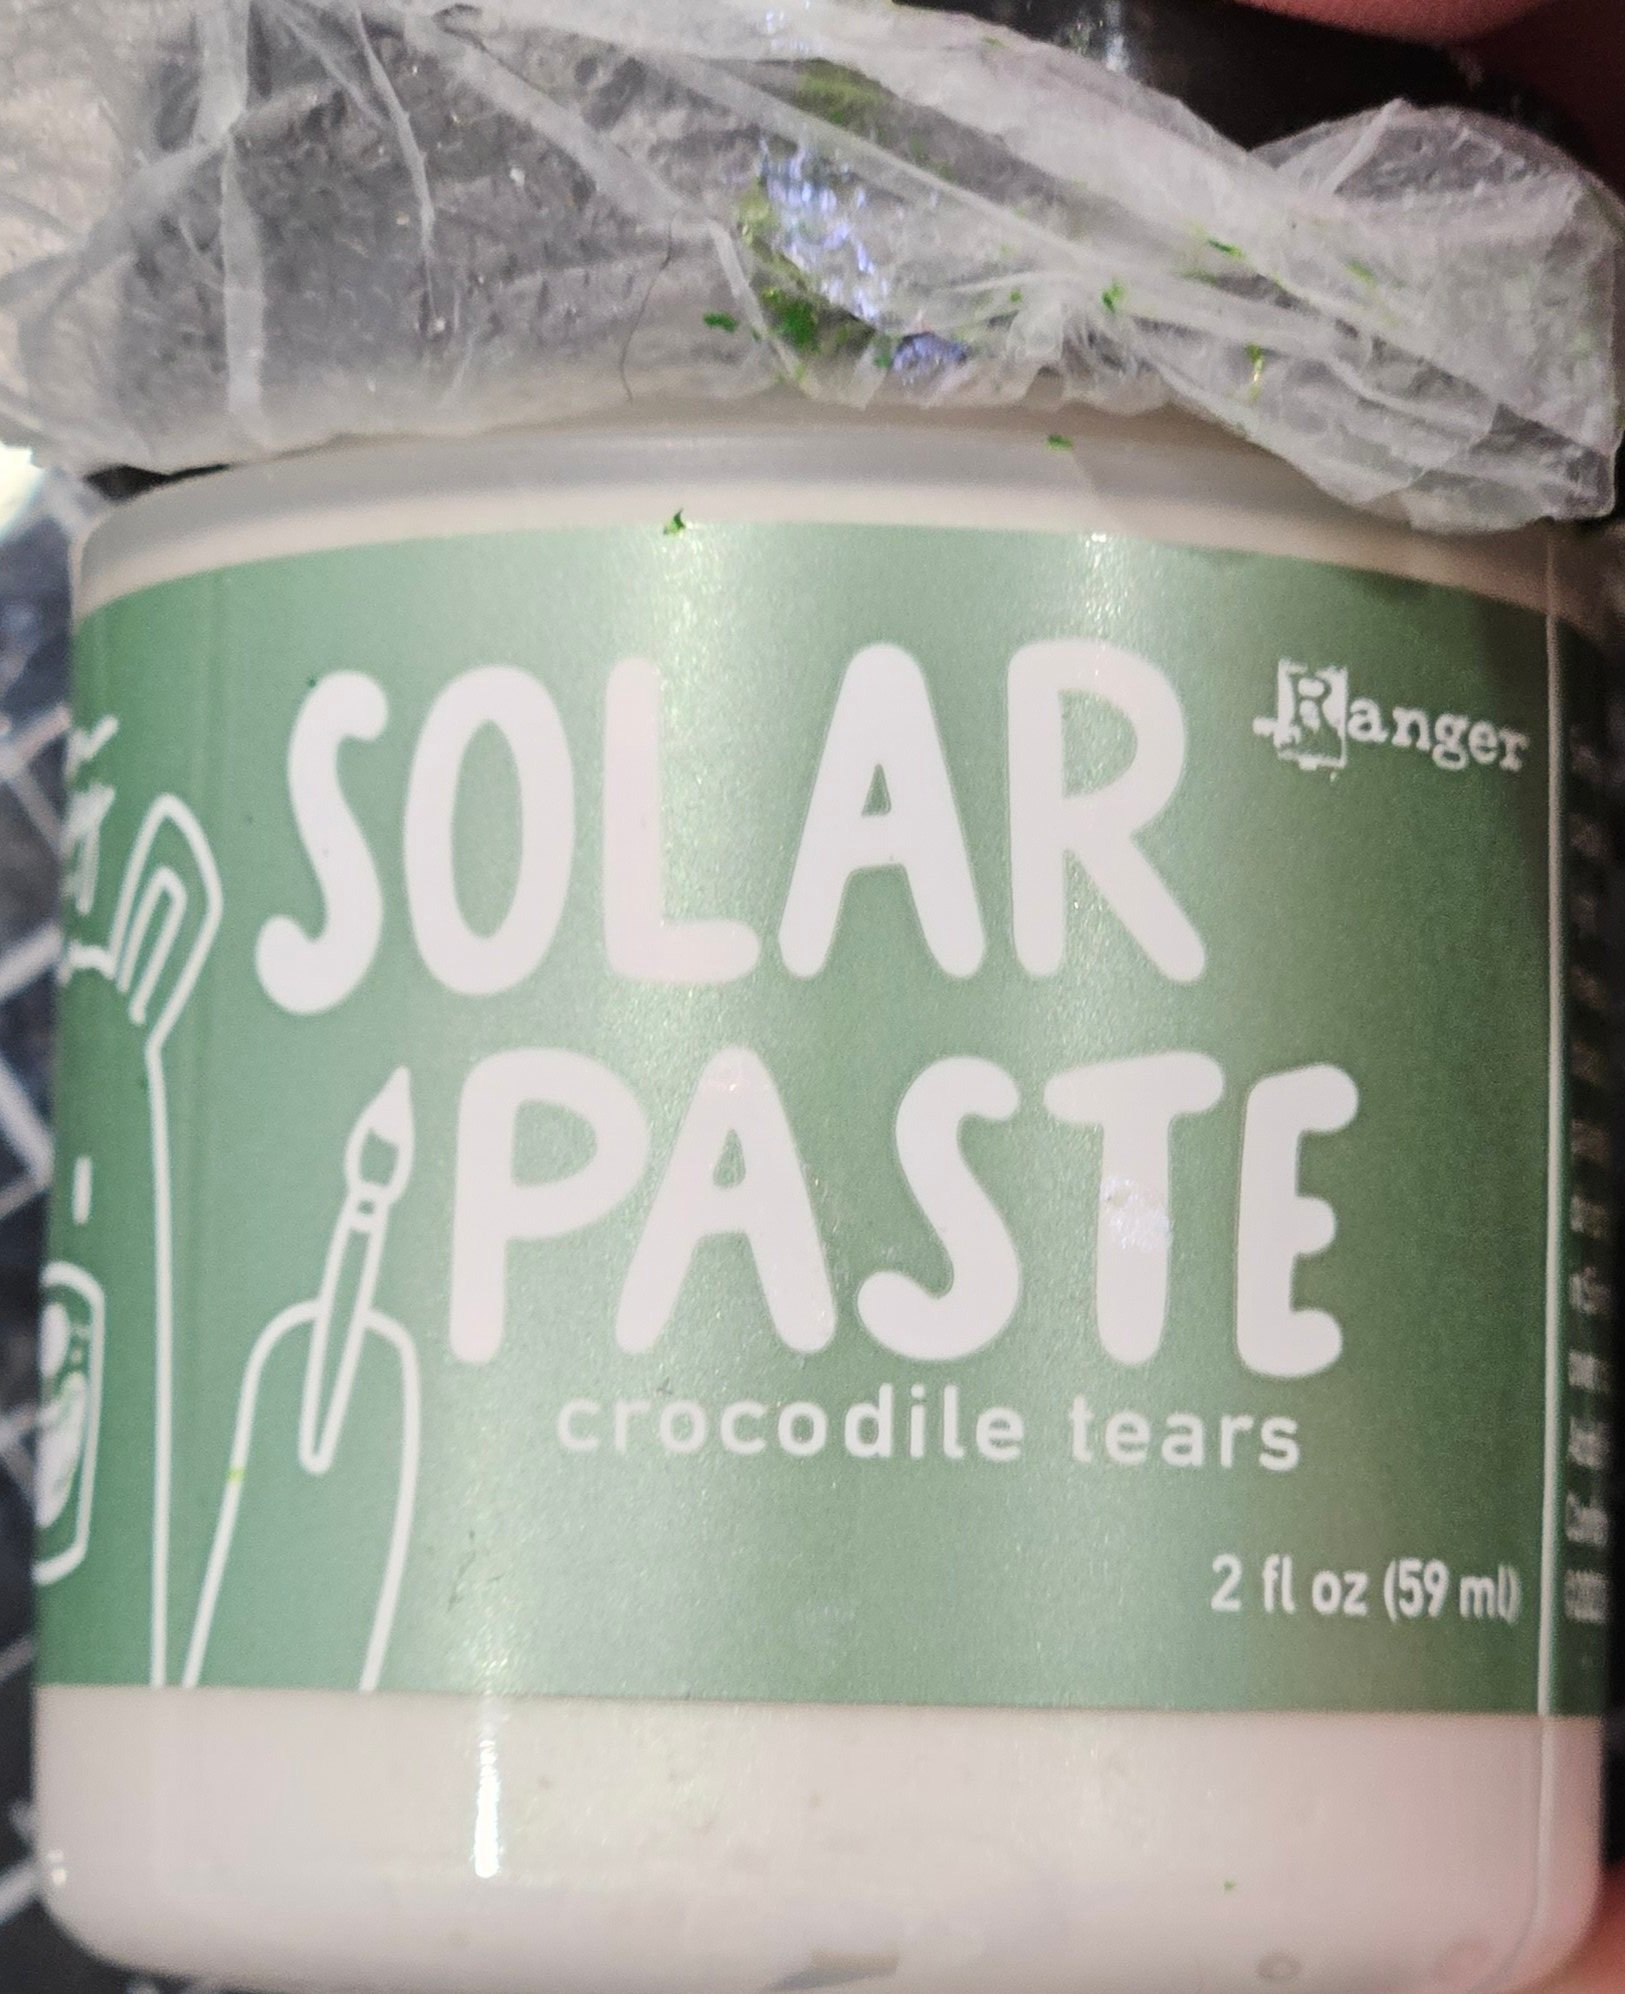
When the time came to color the background I took out the product that turned out to be the star of the show for this card. Using an applicator I applied Ranger’s Lunar Paste, in the aptly named color of Fake Plant to all of the Monstera Leaves. This gave the embossing a simply gorgeous look to them. However, they were still “Fake Plant” looking. To counter that and give them a bit more realism I turned to Ranger’s Solar Paste in the color Crocodile Tears. With the lightest of application of the Solar Paste the leaves took on a life of their own and are simply gorgeous to behold. I set the panel aside and allowed it to dry thoroughly.
The next step in the process was to trim the background to its final size and to mat it with a complementing matte finish gold cardstock. So as to not waste material I cut my sentiment from the center of the mat since it will be hidden anyway. I next adhered the two pieces together and then adhered the composite onto a pre-cut white card base.
To complete the card, I decided to go with the Fancy Thanks die from Simon Says Stamp, shown on the right, without using the shadow die. My aim was to keep the card sleek, which is, again, why I cut it from the mat frame using only the text die. The gold color adds a touch of elegance and a subtle shine that complements the main design without overpowering it – it truly highlights the central focal point.


