Create Your Own Background
My Time To Craft Inspirational Post
Good day, fellow crafters. Today I present my latest inspirational post as a DT member of the My Time To Craft Challenge Blog. Our theme for challenge #528 is to "Create your own backgrounds" and I did my best to deliver.
For every challenge we, as the design team, attempt to bring you themes and ideas that will test your abilities and, ideally, ignite your enthusiasm to explore fresh ways of thinking. However, what I like most about being part of the team is seeing how we each showcase our take on the theme and sometimes just what the card means to the creator.
I hope you are inspired to enter this challenge and I can’t wait to see your creative take on this week’s theme. Be sure to tag me on your entry and/or comment below so I know to watch out for you. Remember Crafting is Happiness!
To create the background panel for this card, I began with a piece of white cardstock, bubble wrap, and Distress Oxides in the colors Abandoned Coral, Uncharted Mariner, and Seedless Preserve. For each of the color layers, I dabbed the ink directly onto the bubble wrap and then misted the bubble wrap with water before applying the color to the cardstock. I then set the background panel aside to dry completely.
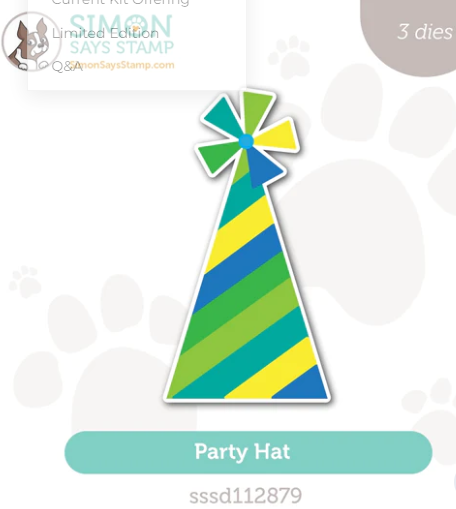
The next step was to create the party hat. To do this I chose to use a blue, a green, a black, and a pale yellow cardstock that I cut to shape using the Simon Says Stamp Party Hat die set, featured left. This die has three parts, the shadow (black), the tassel on top (pale yellow), and the outside of the hat (blue and green). I am making the distinction because the die that cut out the first two parts is self-explanatory however, to achieve the look of the various stripped hat you need to pay attention to which pieces are where on the die so that you can put them together properly. Once I had all of the pieces in the correct orientation I adhered them together with Barely Art liquid glue and then set them aside to dry. I then used the same blue and green cardstock along with a more intense yellow to create streamers from the Simon Says Stamp Curly Streamers die set.
The next step was to create the sentiment. For this I used the Catherin Pooler Party Word die set, featured right, with more of the same green and black cardstock. I adhered the letters to the shadow with liquid glue and set them aside to dry.
The last step was to use my Hero Arts rectangular nesting die set, to first cut the background panel down to its final dimensions and then I followed that up with a slightly larger die and some more black cardstock to cut out a mat. I then used double-sided tape to adhere the background panel to the mat and then repeated the process to adhere the composite to a pink card base. I then adhered the streamers with liquid glue to the background panel allowing for some overhang to provide visual interest. Finally, I adhered the sentiment to the card with more liquid glue. With that, I called the card complete.
Note: To support the creation of more content like this, I've included affiliate links for some of the featured supplies. Utilizing these links won't incur any additional costs for you, but it does provide a small benefit to me, allowing me to continue sharing my work with you.


