Stencils
2024 Crafty Kickoff - Week 4
Good day, fellow crafters. Today I present to you another delightful submission to the 2024 Crafty Kickoff IG Hop! The theme this time around focuses on the versatile use of stencils in crafting unique cards. Being an avid admirer of the ocean's allure, I find myself yearning for its serene presence now more than ever. Thus, I've chosen to channel my longing into crafting a scene that embodies the tranquil beauty of the sea. I hope you enjoy a scene that you can almost hear.
Beginning with a piece of white cardstock, the left-over ink from my blue blending brush, and the My Favorite Things Cloud stencil I created a very soft-hued cloud-filled sky for the background. I went very light with the color as I did not want the sky to be the focus of the scene.
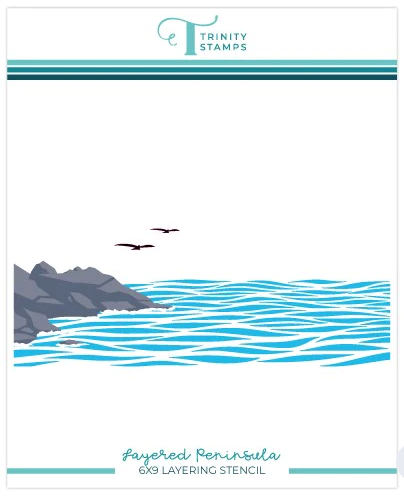
Next, I turned to the Trinity Stamps Layered Pencil stencil set, featured left, to lay out my scene. I started by determining where on the panel I wanted the peninsula and then after securing the stencil in place, I utilized Altenew Crisp inks in the colors Moon Rock and Gray Denim to color in the stencil. That stencil was then removed and the stencil for the water was secured into place and colored in with more of the left-over blue ink. While I felt that the scene looked ok, it did not sing out to me, so along where I imaged the wave tops were at, I added some Texture Paste using a small pallet knife followed up by some extra fine white glitter to sell the illusion of breaking waves and seafoam. Lastly, I used the seagull stencil and some black ink to add some more visual interest.
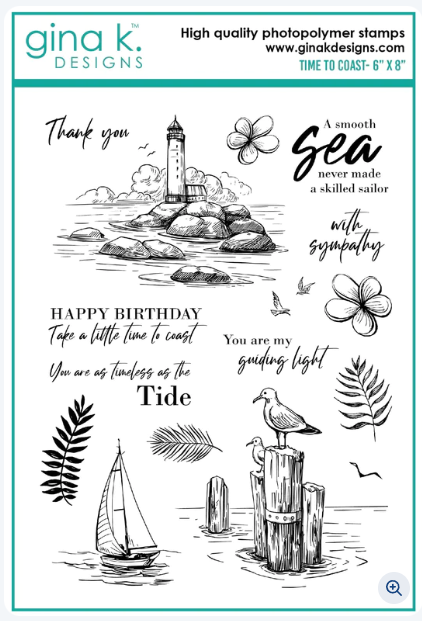
The next step was to use the Gina K Time to Coast stamp set, featured right, and some black ink to add the sentiment. I could not help but go with this sentiment as I think it says it all.
The final step was assembly. Using rectangle dies from Hero Arts and my Gemini die-cutting machine I cut the focal image to its final dimensions as well as a slightly larger black mat. Once that had been completed I adhered the background panel to the mat with some Bearly Arts liquid glue. I then adhered the composite to a white card base. With that, I called the card complete.
Note: To support the creation of more content like this, I've included affiliate links for some of the featured supplies. Utilizing these links won't incur any additional costs for you, but it does provide a small benefit to me, allowing me to continue sharing my work with you.


