
Simon Says Stamp Wednesday Challenge
Emboss It

Good day, fellow crafters. I am thrilled to share my submission for this week's Simon Says Stamp Wednesday Challenge, the theme of which is "Emboss It". I decided to create this birthday card with that in mind as my main design element. I sincerely hope you enjoy it as much as I enjoyed making it!


To craft this card I first began with creating the focal point of my card, though it might be argued that the embossed image really is the star. With a piece of Hammermill white cardstock and my Misti stamping tool I aligned, inked, and stamped my sunflower image using the Crafters Companion Sunflower stamp and die set, featured left. I then used my PrismaColor brand colored pencils to color, shade, and highlight the image. Next to water coloring, this is probably my most favorite way to add color because you are completely invested as an artist in the way the coloring turns out. After the coloring was completed I fussy cut the image out and set it to the side. I could have used the associated dies from the kit however, I am not a fan of the border left around my image when that is done.
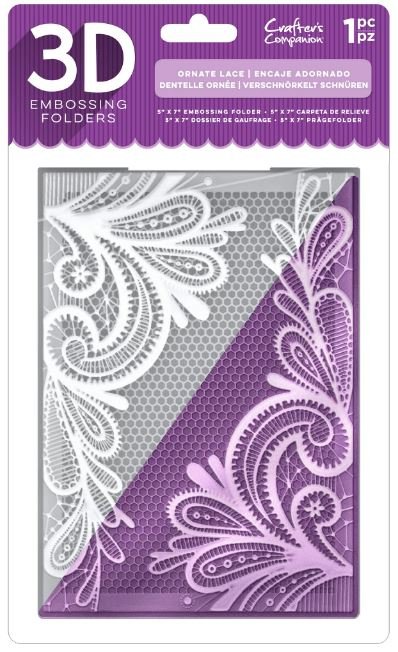
For the next step, I trimmed a beautiful pink cardstock down to its final dimension, which was dictated by the size of the Crafters Companion Ornate Lace 3D embossing folder, featured right, that I used for this project. I then chose my sentiment, Happy Birthday, from the Crafters Companion To Someone Special stamp set. I really liked the font that was used to create this stamp, it just seemed to call to me to use it because it reflected the loops of the embossing folder. After placing the background panel into my Misti stamping tool and aligning the sunflower image, I adhered it into place. Then I aligned, inked, and stamped my sentiment with black ink.
The next stage was to emboss my design. To accomplish this I lightly misted the back of my background panel with water, which added moisture to the paper fibers allowing them to bend more easily and prevent tearing. I then ran the embossing folder through my die-cutting machine a couple of times to ensure I got a nice crisp image.
The last step after the background panel dried was to trim a black mat to size and adhere it to the background panel with double-sided tape. I then adhered that composite to a pre-cut and folded A2 white card base. With that I called this card complete.
