
Inspirational Post # 203
Simply Create Too! Challenge Blog DT

Good day, fellow crafters. Today I present my inspirational submission as part of the Simply Create Too DT. We are a monthly challenge blog where anyone from anywhere can play along! Any project is welcome and we hope you will play along with us, we'd love to have you! The theme for our 203rd challenge is "Beaches". Which, let’s be honest, is the best theme ever!
I hope you are inspired to enter this challenge and I can’t wait to see your creative take on this week’s theme. Be sure to tag me on your entry and/or comment below so I know to watch out for you. Remember Crafting is Happiness!
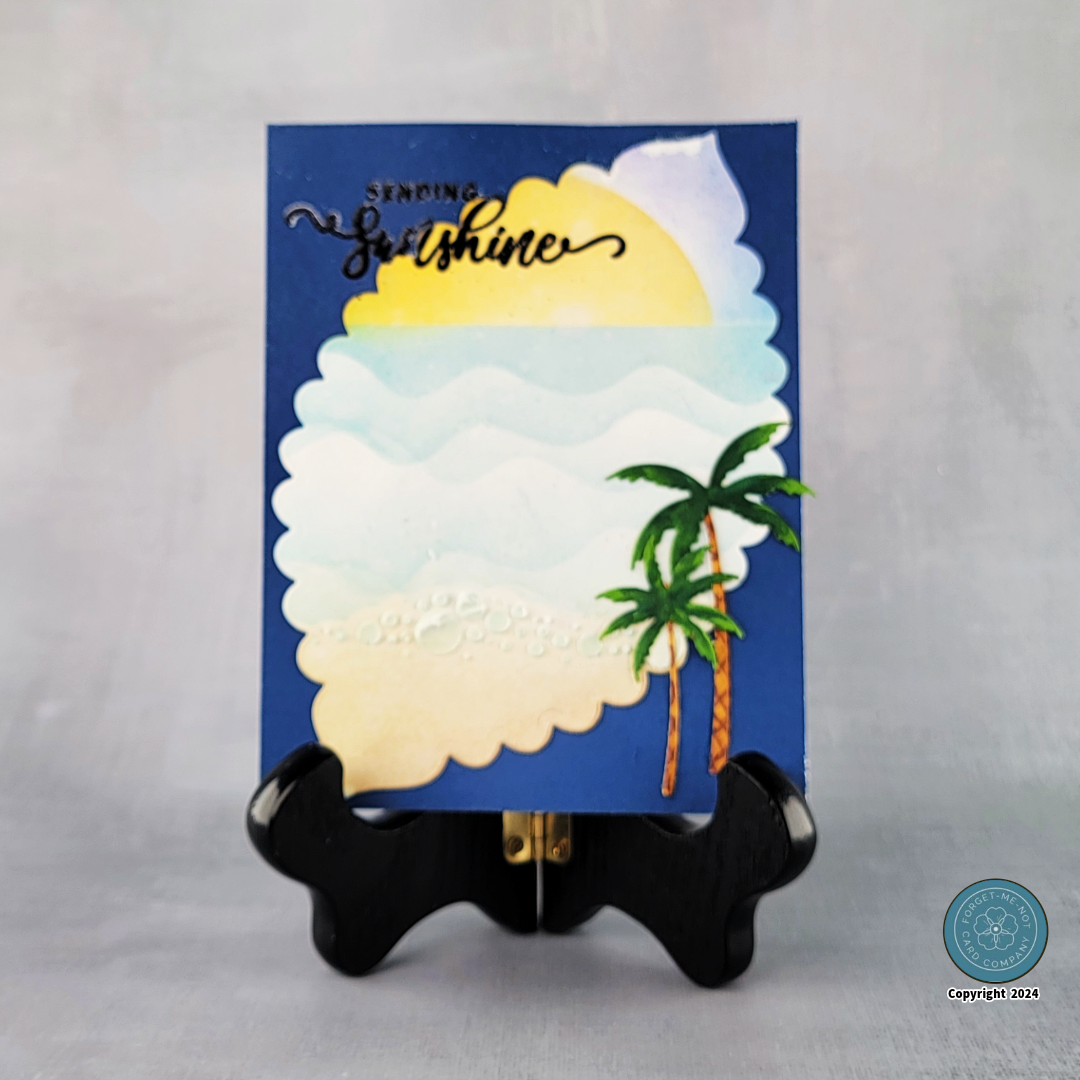
To create this card I began with some white cardstock, leftover yellow, purple, and blue inks from my blending brushes, and the Gina K Tropical Sunshine card kit. The unfortunate part is that this card kit is currently sold out, but if you like it, then the sku number to watch for it to perhaps return one day is SKU: 18200. After securing the cardstock to my work surface, I positioned the included stencil and ink blended my sun into place which also establish my horizon line. I next used the leftover blue ink, the wavy edge of the stencil, and some light pressure to make the waves. The purple and blue blending brushes were then used to make the sky. I finished off the inking with some light sand color ink from my collection.
The next part was, in my opinion, the part that brought the card to life. The stencil has a series of small circles on it that are used to create the foam at the edge of the shoreline. Instead of using some white ink, I turned to Ranger’s Textured Paste. Using a small pallet knife I smeared bit on and then lifted the stencil quickly for a more natural look. KEY TIP: clean your stencil as soon as possible because the paste will harden and make the stencil hard to use. I then set it aside to dry.
While it dried, I stamped the palms on more white cardstock and colored them in using Copic markers. I followed that up by using the associated die to cut them out. I personally don’t like the white edges that were left by the die, so I trimmed those away. I set the trees aside to wait for assembly.
The last step was assembly. I first, used the Spellbinders Renaissance die set to cut the background panel to size, and then adhered it to a 4.25” x 5.5” dark blue cover mat with liquid glue. This composite was then adhered to a white A2 card base and the trees adhered with additional liquid glue.
To complete this card, I used some VersaMark watermark ink and a sentiment from the included stamp set to stamp in place. I then used black embossing powder and a heat tool to finish it off. With that, the card was complete.
