Shamrocks
St. Patrick's Day/green/Lucky and/or Spring - Stashbusters March 2024
Good day, fellow crafters. Today I present to you my first submission in March for the Stashbusters 2024 IG Hop. Every other Tuesday, the Stashbusters post 3-6 creative, paper-based projects to share. Our goal is to use the items and supplies we already own to create between 81 and 162 total projects during 2024. For each hop we are given a theme for our inspiration. The theme this time is St. Patrick's Day/green/Lucky and/or Spring with the optional twist of using a craft supply in unexpected ways. In my case, it was using a heart punch to create the leaves of the shamrocks. I hope you enjoy.


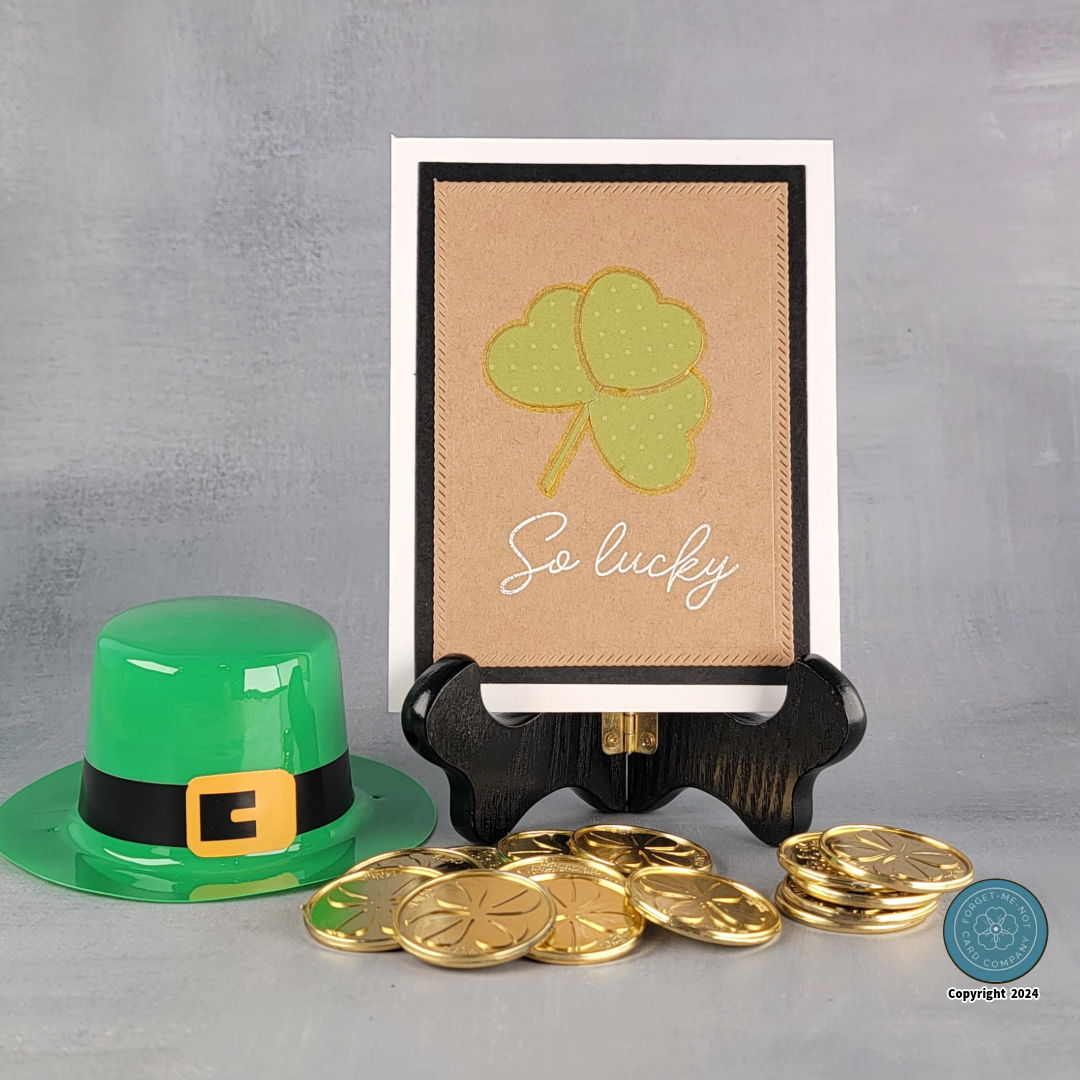
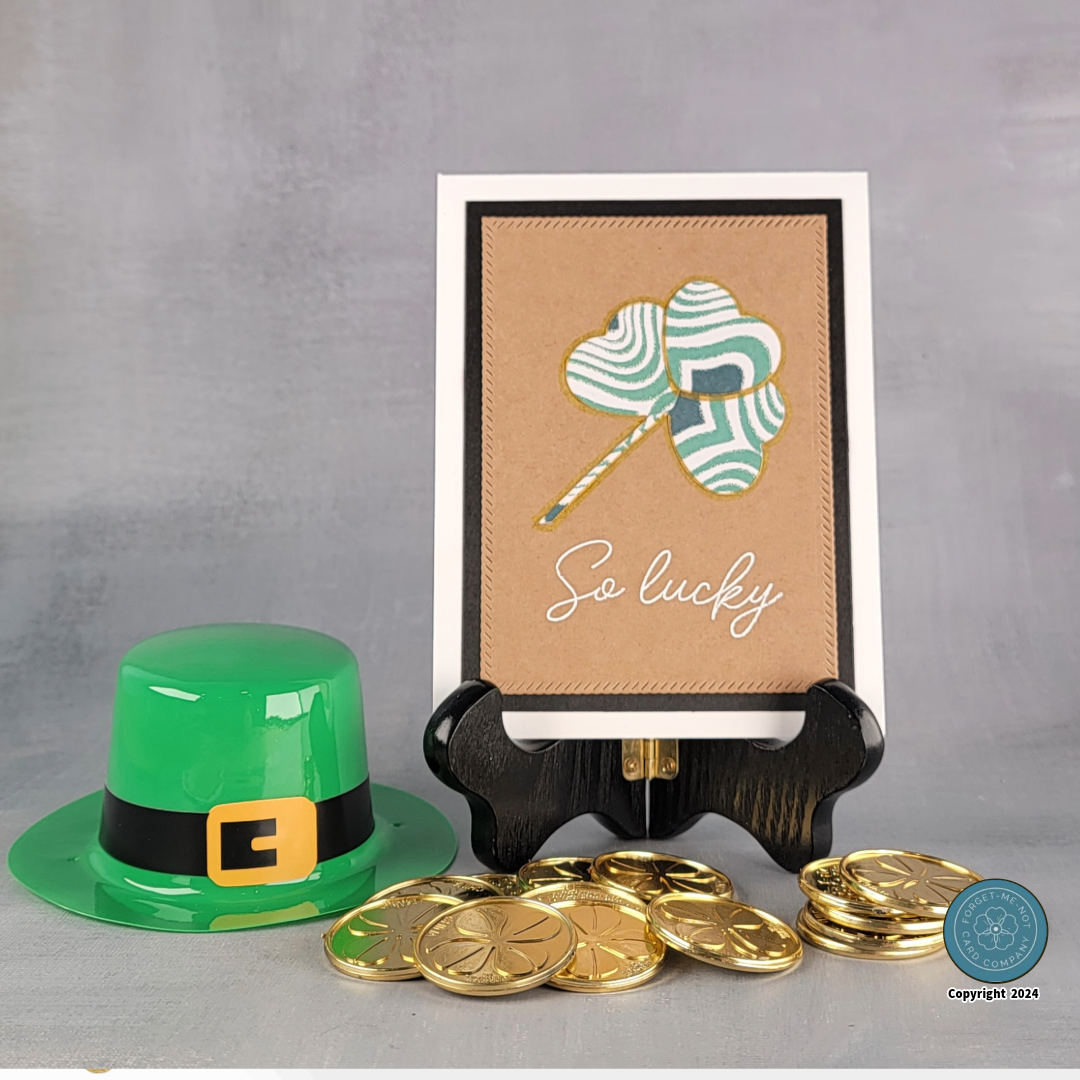
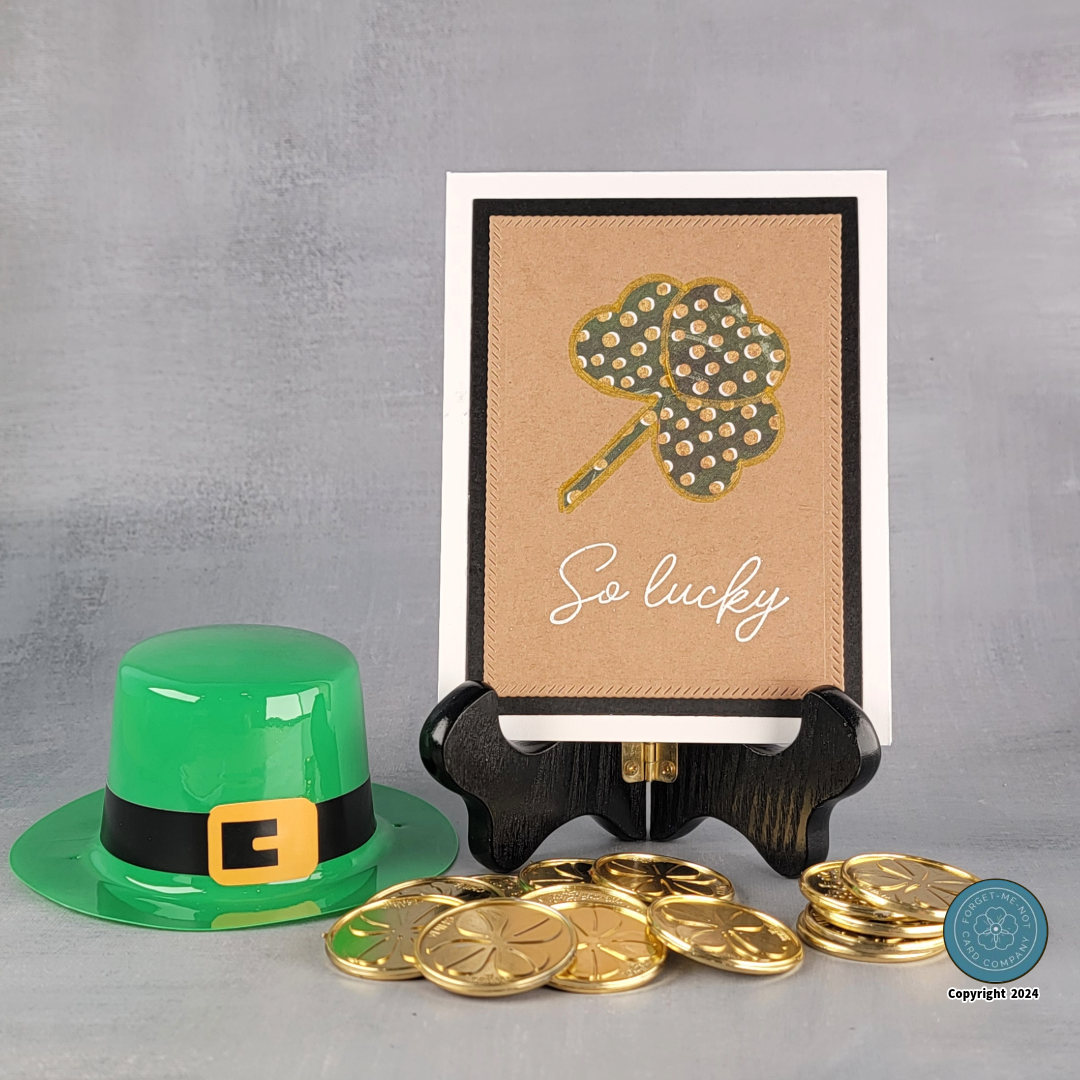
To create this card I first began by choosing some patterned paper that I had in my stash that were either green or had shades of green printed on it. I next used a heart punch that has been in my collection for much longer than I would like to denote here, to punch three leaves out of each of the patterned paper for each of the cards. I made a bunch of these cards so as not to waste material I then used my paper trimmer to cut the leftover paper into thin strips and then used scissors to trim the stips into the stems.
For your reference, Shamrock and clover are often used interchangeably, but there are slight differences between the two. Shamrock typically refers to a specific type of clover with three leaves, commonly associated with Ireland and St. Patrick's Day symbolism. It's often considered a symbol of luck and has cultural significance in Irish folklore. On the other hand, clover is a broader term encompassing various plant species within the Trifolium genus, with some species having more than three leaves. While all shamrocks are clover, not all clovers are shamrocks, as shamrock specifically denotes a three-leaved variety with cultural connotations.
For the background panel, I chose a piece of kraft-colored cardstock and used the Stitched Rope Nested Rectangle Die set from Kat Scrappiness. Once I had cut that out with my Gemini die-cutting machine, I used some VersaMark watermark ink and a stamp set from my collection to stamp the sentiment. I then, added WoW! white embossing powder and heat set it with my heat tool. The last step for the panel was to adhere the Shamrock pieces into place with more liquid glue and then give them an outline with a gold marker pen.
For the final assembly, I used a die from my Hero Arts rectangular nesting die set and some black cardstock to cut out a mat. I then used Bearly Arts liquid glue to adhere the background panel to the mat and then repeated the process to adhere the composite to a white card base. With that, I called this card complete.
Note: To support the creation of more content like this, I've included affiliate links for some of the featured supplies. Utilizing these links won't incur any additional costs for you, but it does provide a small benefit to me, allowing me to continue sharing my work with you.


