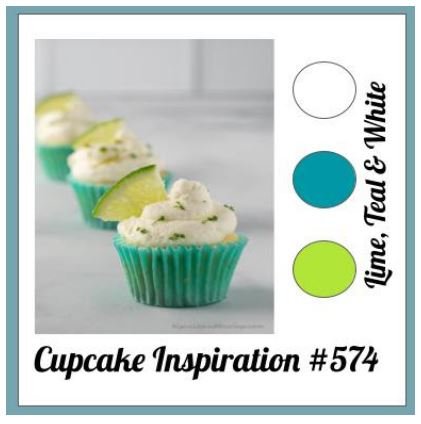
Cupcake Inspirations Challenge #574
Lime, Teal & White
Good day, fellow crafters. Today’s card is my submission to the Cupcake Inspirations Challenge #574. As you can see in the picture above, the challenge color pallet is pretty narrowly defined but I think I have just the right design to take advantage of that limitation. I hope you enjoy my design.
For creating the background of this card, I utilized one of my favorite techniques that gives a masked appearance, especially handy when dealing with intricate stamps or images. This technique involves heat embossing, and if you haven't tried it before, let me walk you through the process.
To start, I took a piece of white card stock and selected a beautiful background stamp from my collection (pictured on the left). Instead of using regular ink on the stamp, I opted for clear embossing ink, making sure to apply it thoroughly. Then, I stamped the image onto the paper.
The next step involves applying heat embossing powder to completely cover the stamped image. Using a heating tool, I carefully heat set the embossing powder. In the case of this card, I used an extra fine white powder, as the stamp design was quite intricate. The reason behind this technique lies in the properties of the embossing powder, which is essentially a mixture of thermoplastics and resin. By heat setting the powder, it creates a sealed plastic layer wherever it was applied. This sealed layer acts as a resist to inks, which comes into play in the subsequent steps of the process.
I chose two colors from Gina K's product line, Tranquil Teal and Key Lime, for the inks I used. To apply them, I positioned the embossed panel on a glass mat and used separate blending brushes for each color. Carefully, I blended the inks onto the card until achieving the desired color saturation. Now, the embossing plays its role again. Using a microfiber towel, I wiped away the excess ink from the plastic-covered image, revealing a mask-like effect.
Next, I trimmed the background panel to its final dimensions, along with double mats in colors that matched the palette. From the center of the lime-colored mat, I cut out the sentiment background using Pink and Main's Notched Corners die (PNM399). From the center of the light teal-colored mat, I created a shadow for the sentiment text. Lastly, I used white cardstock to cut out the sentiment itself using the Altenew Sweet Sentiments die set, pictured on the right.
To complete this card I assembled and adhered the background panel and mats to a pre-cut white A2 card base and then assembled and adhered the sentiment background and the sentiment to the card background.


